Add Wireless Charging To Your Meshtastic Node
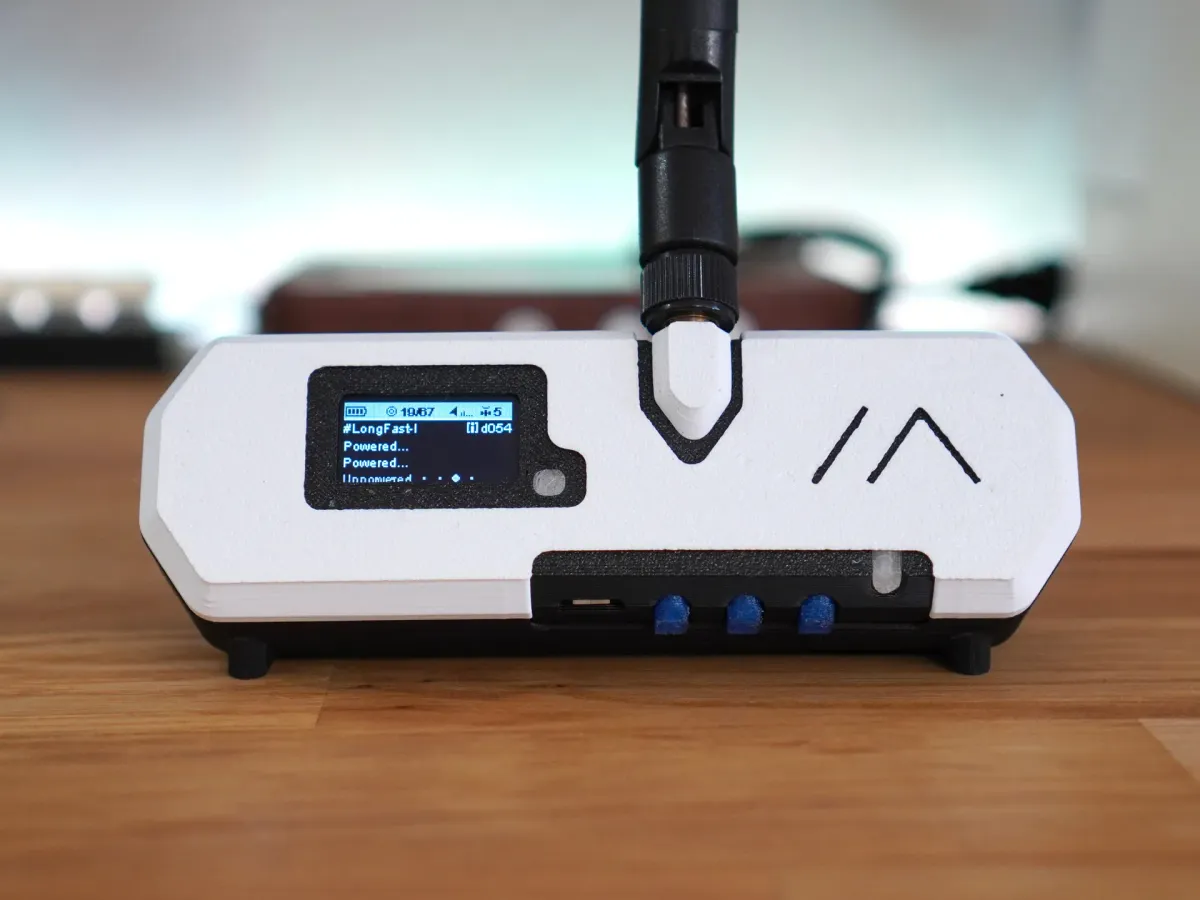
Discover how to integrate wireless charging into your Meshtastic Node for added convenience. Keep your device fully charged and ready for action, whether for outdoor adventures or waterproofing needs.

In this guide, we'll walk you through adding Wireless Charging to your existing Meshtastic Node.

Hardware
Now let's get started with the hardware you need:

Basic Setup
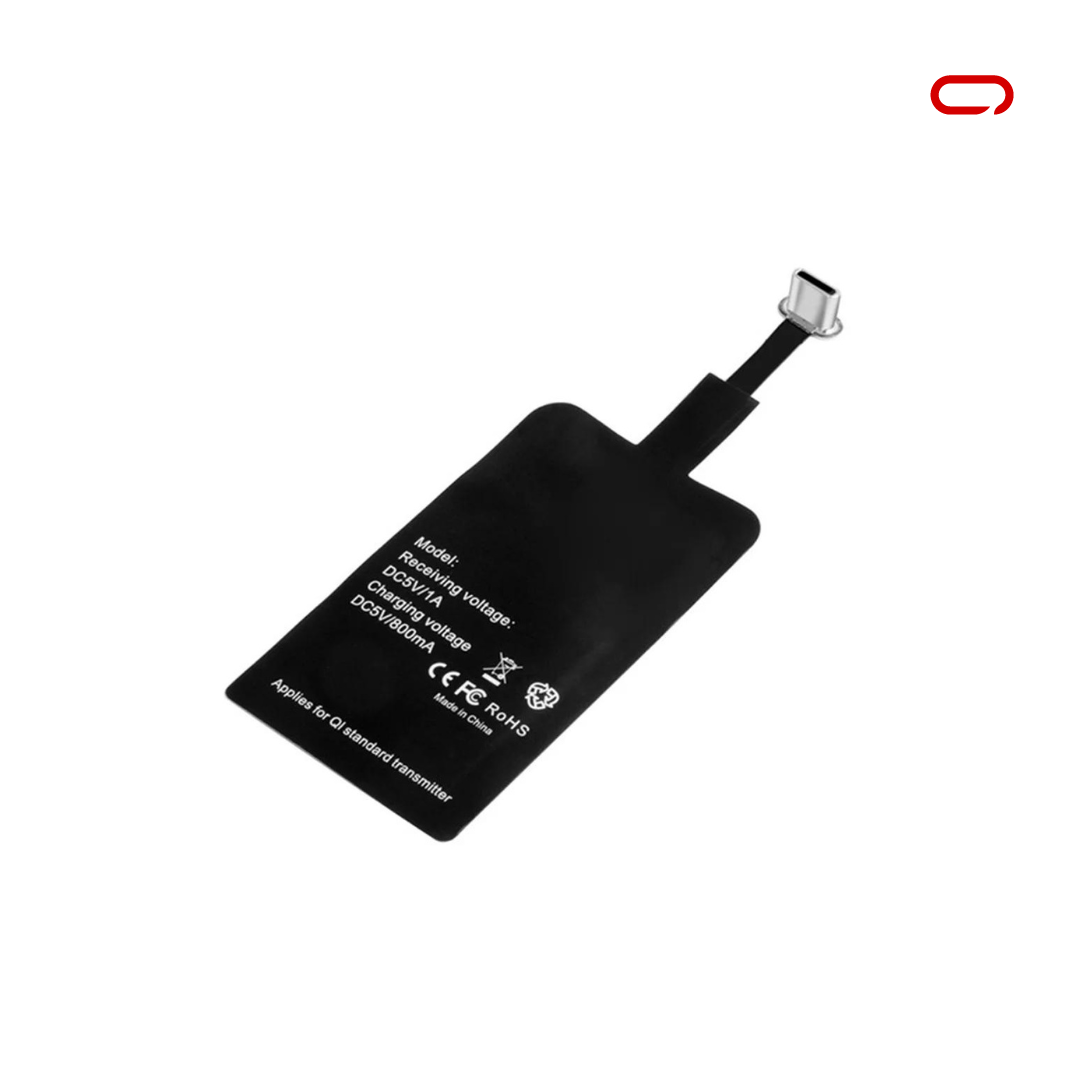
- 1x Qi Wireless Charger Receiver - AliExpress Price: 4.90 USD | Amazon US Price12.99-14.99USD
Rak Setup
- 1x Qi Standard Wireless Charging DIY - AliExpress Price: 1.47 USD | Amazon US Price 8.89USD
- 1x 2 Pins JST ZHR-2 (1.5mm) - AliExpress Price: 2.66/10pcs USD | Amazon US Price 8.90USD
Assembly
The hardware is all ready and set now to the wiring. For this, we will follow the following Schematics.
When you start putting things together, you usually begin by plugging a charging receiver into your board's USB port. This lets you charge it up without a cable. But when you want to charge wirelessly and still use the USB port, things get a bit complicated.
To make wireless charging work, we have to mess around with something called the Battery Management System (BMS) in the board. We basically need to tell the BMS to treat the wireless charger as another source of power. This can be a bit tricky, especially with boards like T-Beam or Heltec, where the BMS is built into really small components.
HOwever, some devices, like Rak, make things easier. They have a special connector that lets you hook up a wireless charger directly to the BMS.
If you want to add wireless charging to Rak devices, like WisBlock products, just follow these simple steps:
- Hardware Needed:
First off, grab a Qi Wireless Charger DIY kit and a JST ZHR-2 (1.5mm) connector. You'll need the connector to hook up the wireless charging module to the solar connector on the Rak board. - Understand Polarity:
Before you start messing around with wires, understand what the colors mean. Red usually means positive, while black is for negative or ground. Make sure you get this right to avoid frying your components. - Prepare for Soldering:
Prior to soldering, double-check the compatibility of the components. Confirm that the wireless charger operates within the specified voltage range of the WisBlock products (ideally 5V or lower) to prevent any potential damage. - Soldering Process:
Be careful when you're soldering to make sure everything lines up perfectly. Match the red wire from the wireless charging module to the red wire of the JST ZHR-2 connector (positive voltage), and do the same with the black wires (ground). Pay attention to polarity to avoid messing up. - Connecting to the Board:
Once you've got the wires all soldered up, connect the JST ZHR-2 connector to the solar connector on the Rak board. Make sure it's a snug fit and double-check that everything's securely connected to avoid any hiccups. - Voltage Considerations:
Remember, keep an eye on the output voltage of the wireless charger. It shouldn't go over 5V or you might end up damaging your WisBlock products. Too much voltage can mess things up, so play it safe.
In conclusion, integrating wireless charging into your Meshtastic Node offers a convenient and practical solution for ensuring your device is always ready for action. With wireless charging, you can effortlessly keep your node fully charged without the hassle of constantly plugging and unplugging cables. This not only simplifies the charging process but also ensures that your node remains operational and accessible whenever you need it.
Moreover, wireless charging presents an appealing option for those considering fully sealed nodes for waterproofing purposes. By eliminating the need for exposed charging ports, wireless charging contributes to a more robust and weather-resistant design. This enhances the durability and reliability of your node, making it suitable for outdoor and harsh environments where protection against water and dust is essential.
In essence, incorporating wireless charging into your Meshtastic Node represents a seamless blend of convenience and functionality. Whether you seek uninterrupted communication in remote locations or a durable solution for outdoor deployments, wireless charging offers an elegant and efficient way to power your node while enhancing its versatility and resilience.


Comments ()