Custom Logo For Mehstastic Node
Follow our step-by-step guide to set up the build environment, adjust the logo and text, and upload the firmware. Dive in and make your Meshtastic experience uniquely yours!
Discover how to personalize your Meshtastic node's boot screen with your logo and text! Just know, it involves tinkering with custom firmware. And, a quick heads-up: updating with the Web Flasher will reset it to the default Meshtastic logo. Ready to dive in? Let's go!
 Adrelien
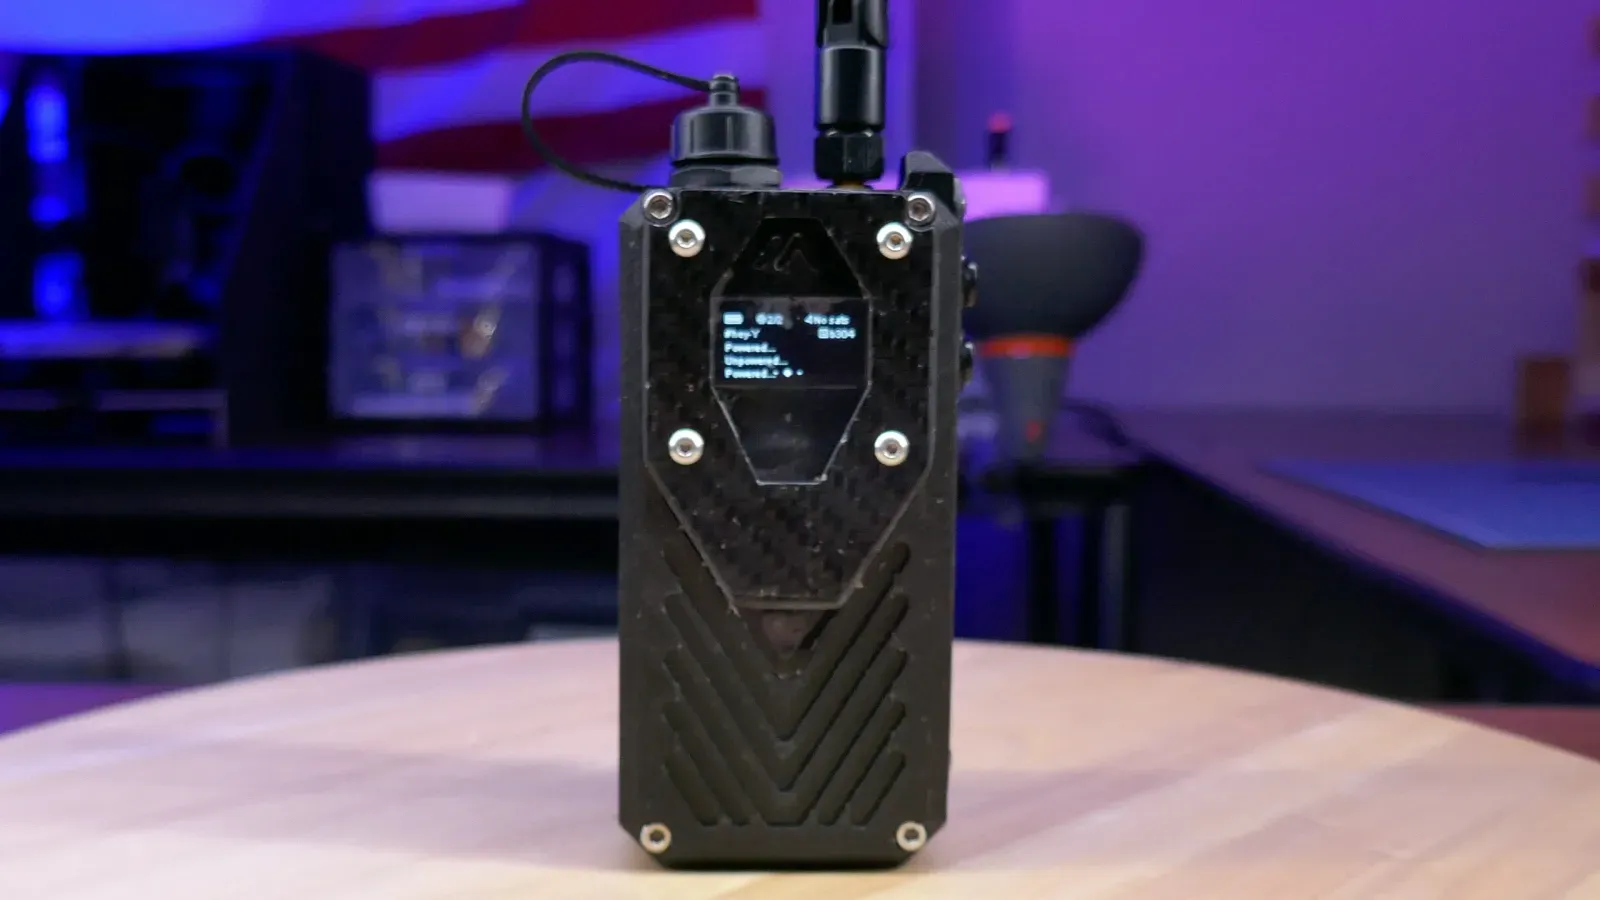
Custom logos and text on your Meshtastic node serve multiple practical purposes:
- Personalization: Allows users to make their nodes uniquely their own, reflecting their style and identity.
- Team Identification: Ideal for teams using Meshtastic, custom logos help easily distinguish between nodes, facilitating smoother communication and coordination.
- Contact Information: In case a node gets misplaced or forgotten, having contact details displayed on the screen can aid in its return to the owner, enhancing the chances of retrieval and minimizing loss.
Setup the Build Environment
- Install PlatformIO
- Update the repository's submodules
cd firmware && git submodule update --init- Clone the Meshtastic Firmware repository
git clone https://github.com/meshtastic/firmware.gitCustomize The Logo and The Text
Changing Logo
- Visit https://windows87.github.io/xbm-viewer-converter/
- Upload your image, ensuring it's resized to 50x50 pixels
- After completing the upload, you should receive a code resembling this format:
#define 2b424fc37ae9c2c6f85afbe7f407bb60_width 280
#define 2b424fc37ae9c2c6f85afbe7f407bb60_height 280
static unsigned char 2b424fc37ae9c2c6f85afbe7f407bb60_bits[] = {
0x00, 0x00, 0x00, 0x00, 0x00, 0x00, 0x00, 0x00, 0x00, 0x00, 0x00, 0x00,
  0x00, 0x00, 0x00, 0x00, 0x00, 0x00, 0x00, 0x00, 0x00, 0x00, 0x00, 0x00
  ...
0x00, 0x00, 0x00, 0x00, };- Copy the content enclosed within the curly braces.
- Navigate to the specified file:
firmware/src/graphics/img/icon.xbm- Replace the content inside the curly braces with the copied content from the earlier webpage.
- Adjust the first line (width) and the second line (height) to match the width and height of your image. Ensure to replace only the values, not the entire line. You can find this information on the webpage earlier.
#define icon_width 50
#define icon_height 50
Changing Text
- Proceed to the specified location.
firmware/src/graphics/Screen.cpp- Navigate to line 130 or use the find and replace function to locate "meshtastic.org". Change the text to your preferred choice.
const char *title = "meshtastic.org"; OLD
const char *title = "YOUR TEXT HERE"; NEW
Build & Upload The Firmware
- To select the device you you wish to build, open your command palette:
- Windows:
Ctrl + Shift + P - Mac:
command + Shift + P
- Windows:
- Enter:
PlatformIO: Pick Project Environmentand select your target. - To build the firmware, simply run
PlatformIO: Buildfrom your command palette. - Finally, flash the firmware to your device by running
PlatformIO: Upload
In conclusion, personalizing your Meshtastic node's boot screen with custom logos and text adds both flair and practicality to your device. Whether it's expressing your individual style, enhancing team coordination, or providing contact information for lost nodes, this customization offers numerous benefits. By following the simple steps outlined above to set up the build environment, customize the logo and text, and upload the firmware, you can tailor your Meshtastic experience to suit your needs perfectly. So, dive in, get creative, and make your Meshtastic node uniquely yours!