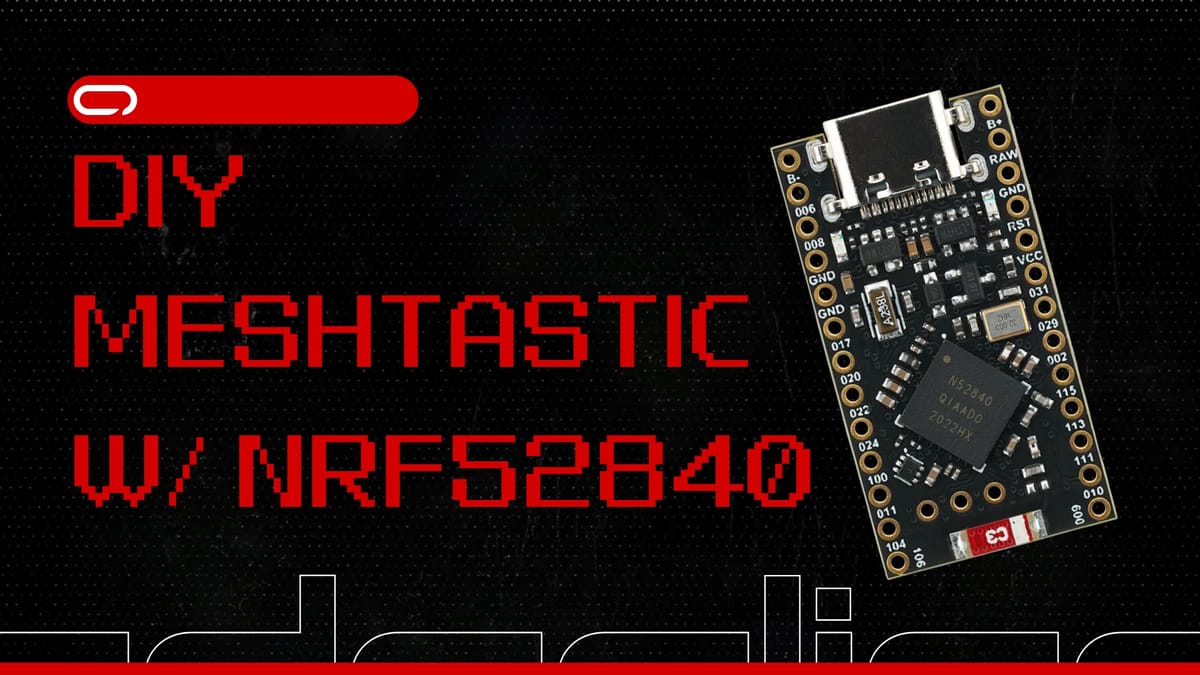
Meshtastic DIY - How To Build Your Own Meshtastic Node NRF52840 & Lora Radio
Learn how to create your own DIY Meshtastic node using the NRF52840. Take advantage of the NRF52840's low power consumption, compact size, and integrated battery management system (BMS) to enhance your mesh communication experience.
In this guide, we'll show you how to build your own Meshtastic LoRa Node. While you could buy a WisBlock RAK node for just $24, you can create your own for about $12 using a $6 NRF52840 Pro Micro and a $6 LoRa chip.
Hardware
Now let's get started with the hardware you need:
- 1x NRF52840 Pro Micro - AliExpress Price 3.00USD
- 1x 433 Mhz LoRa Module Ra-02 DIP - AliExpress Price: 3.72USD | 868/915 Mhz LoRa (We did not test it & It is SMD, very small and hard to work with & No IPEX Support) - AliExpress Price: 5.15USD
- 1x GIZONT 433 Mhz 10 dbi Gain (Optional but Highly Recommended) - AliExpress Price: 11.16USD For Pair Short & Large (Tested with ~1.5 KM Range In High-Density City No LOS) - Single Antenna - AliExpress Price: 4.88USD - 5.58USD
- 1x IPEX to SMA-K (If you decide to go with Antenna) - AliExpress Pirce: 2.95USD
- 14x Female to Female Pin Connector - AliExpress Price: 0.42USD
- 1x 0.96 inch I2C OLED - AliExpress Price: 1.29USD (Optional)
- 1x 3.7V 110mAh 301230 Lithium Polymer Li-Po Battery - AliExpress Price: 6.72USD (Optional)
- 4x Female to Female Pin Connector (If you decide to go with screen)
- 1x Soldering Iron + 60/40 Solder Wire (Optional - You can go to a nearby electronic shop to solder the Lora header on the board)
NRF52840 Pro Micro
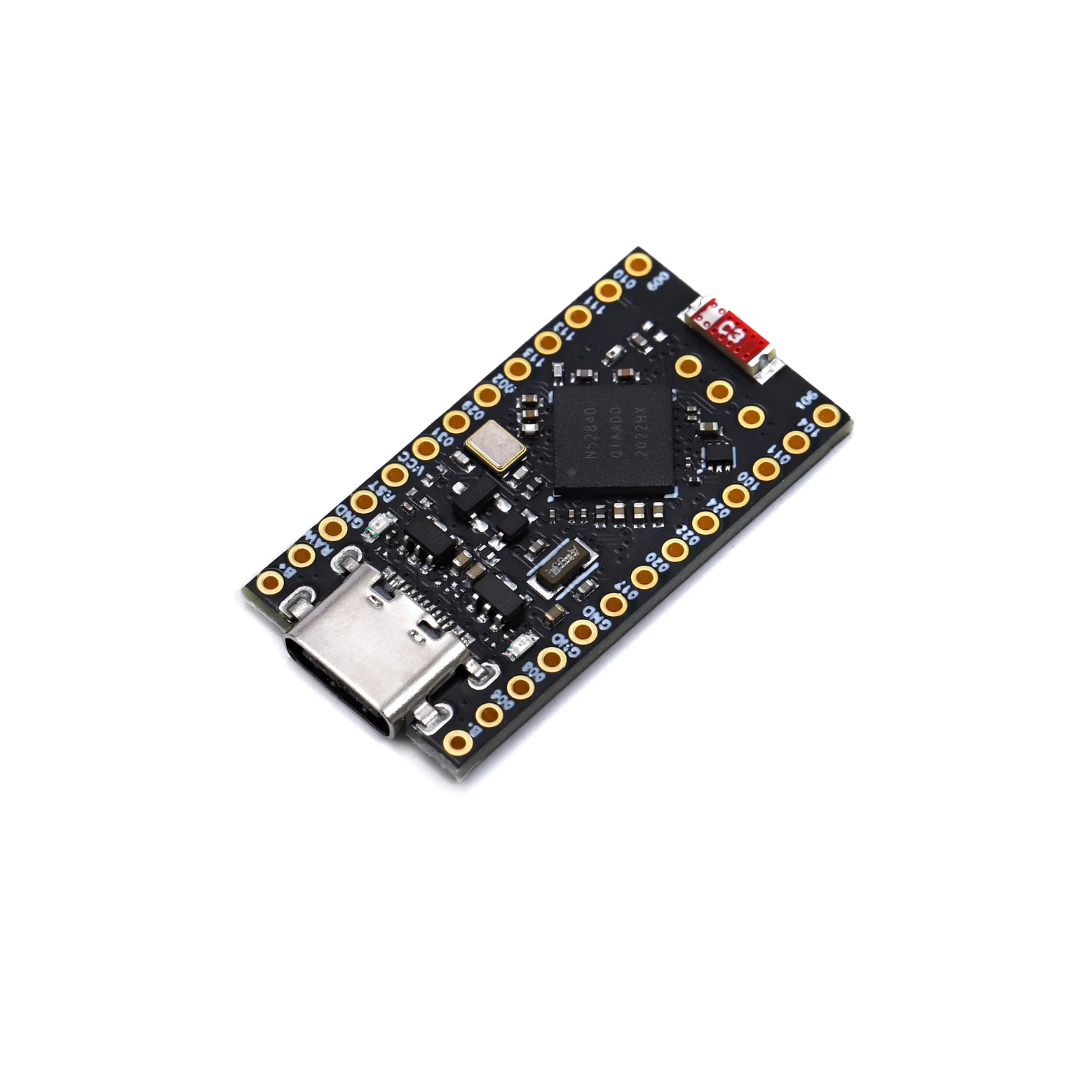
For this guide, we will use the NRF52840 Pro Micro, an excellent choice for building a Meshtastic LoRa Node. This compact board features an integrated Battery Management System (BMS) and Bluetooth connectivity, all while maintaining very low power consumption, allowing it to run on a small battery for days. However, it's important to note that the NRF52840 does not have WiFi capabilities, so features like the PAX counter or connecting to MQTT via WiFi won't be available. This board is best suited for applications that rely on Bluetooth and LoRa communication rather than WiFi connectivity.
LoRa Module Ra-02 DIP
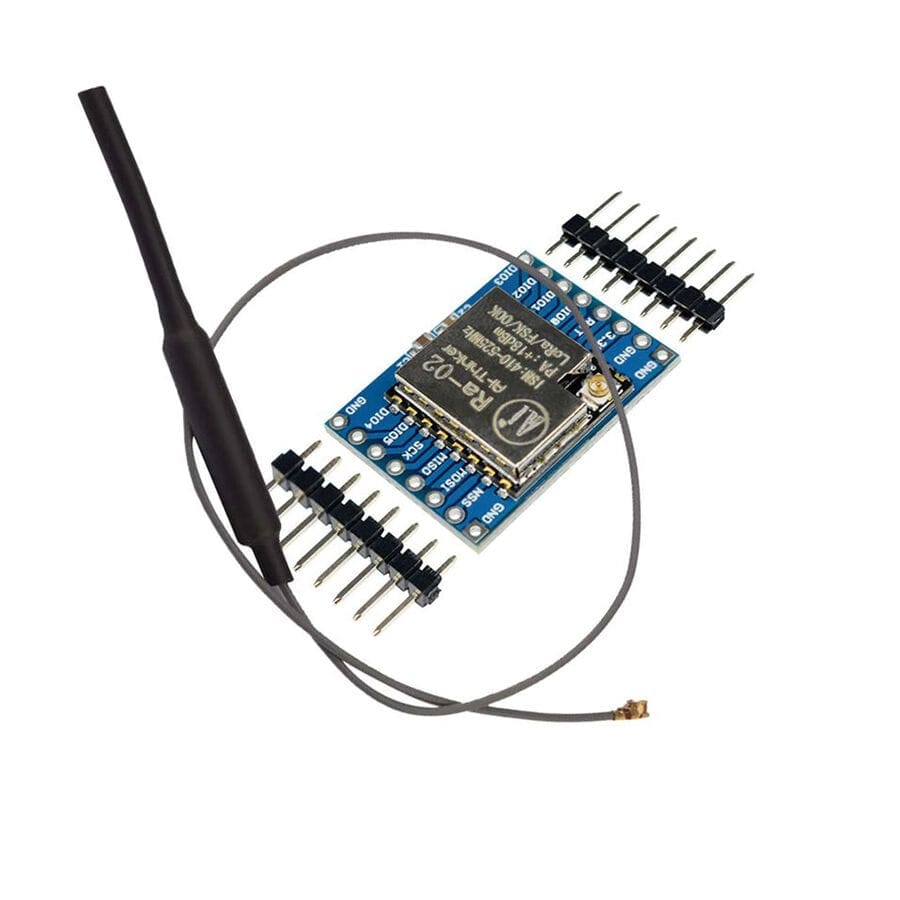
When it comes to the LoRa chip, many options are sold as Surface Mount Components (SMCs), which are very small and can be challenging to handle without damaging the board. For this reason, we opted for the RA-02 DIP version. This version is mounted on an adapter board, giving you easy access to all the pins and making it as simple as building with Lego blocks. Keep in mind that you'll need to solder the headers to the board.
To keep costs low, consider checking with your local electronics shop—they may offer soldering services, saving you the hassle and expense of purchasing soldering equipment.
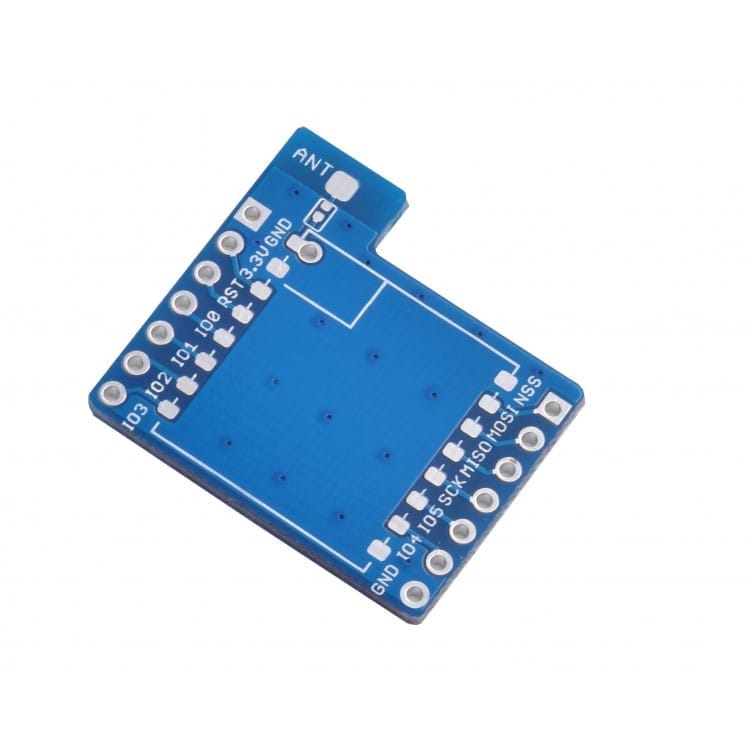
If you want to use a different frequency, you may not find a DIP version (with pins) readily available. In that case, you'll need an adapter board like the one shown in the picture below. We attempted to find a reliable source for these boards but couldn't find one online, so check your local area for potential sellers.
GIZONT 433 Mhz 10 dbi Gain

The RA-02 LoRa module usually comes with an antenna, but it's often of very poor quality, providing a range of only 10-50 meters. We tested the GIZONT antenna (link provided), and it performed significantly better. While it’s possible we just got lucky with a well-calibrated antenna, feedback from Meshtastic users suggests that GIZONT is a reputable store.
When choosing an antenna, make sure to select the correct frequency. In our tests, we used a 40 cm antenna for base stations, like those placed at home or on a balcony, and a 24 cm or 20 cm antenna for handheld devices.
3.7V 110mAh 301230 Lithium Polymer Li-Po
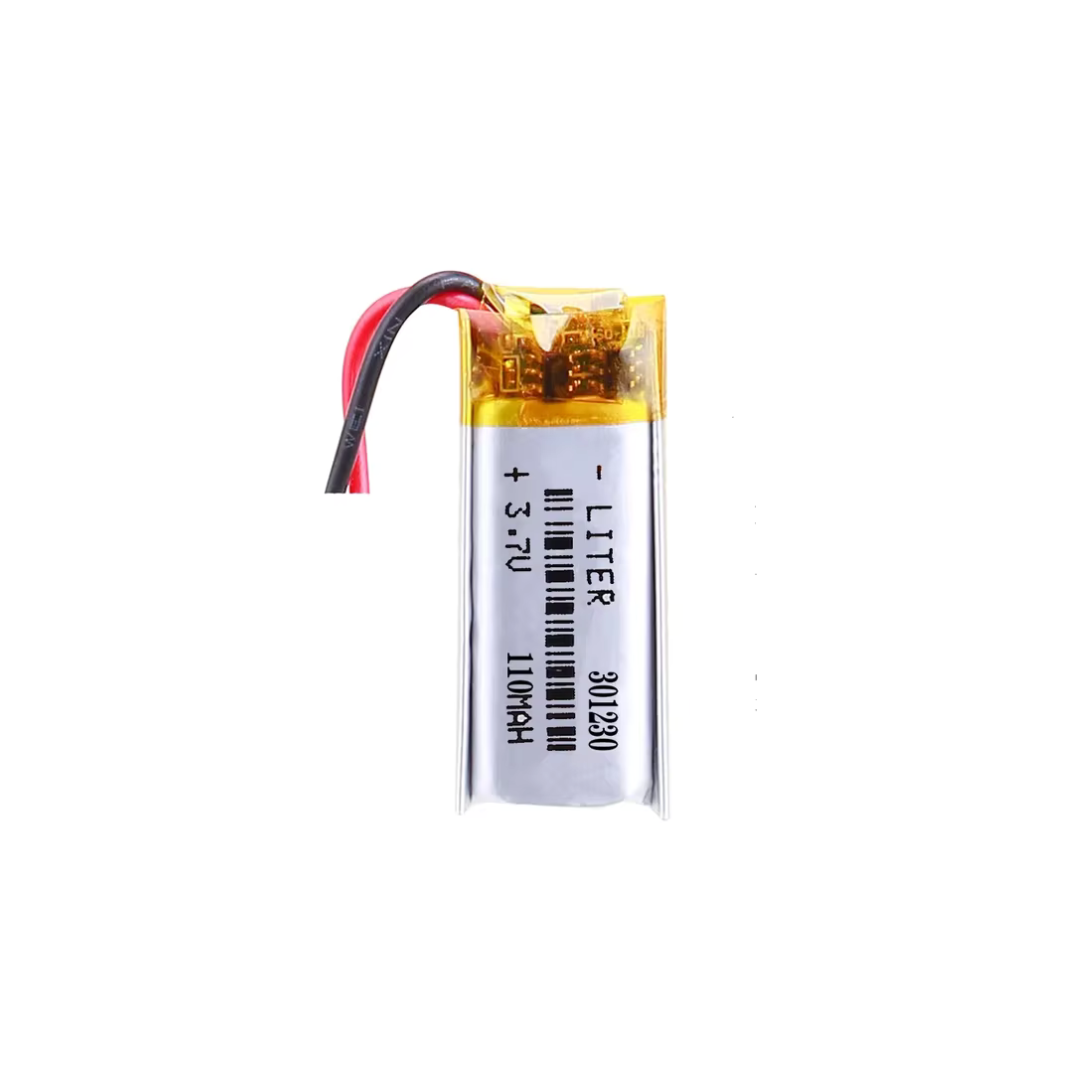
The 3.7V 110mAh 301230 Lithium Polymer Li-Po battery is an excellent choice for powering compact projects like the NRF52840 Pro Micro, thanks to its small size and lightweight design. With the NRF52840's low power consumption and built-in Battery Management System (BMS), this battery can keep your Meshtastic LoRa node running for several days, and the BMS will also recharge the battery when connected to a power source. This setup is ideal for portable or remote applications. However, it’s important to avoid using batteries larger than 450mAh with this board, as some users have reported issues with larger batteries, even though this limitation is not officially documented. In our tests, the 110mAh battery provided a good balance of size and power, suitable for handheld devices or nodes that don't require extended uptime.
To connect the battery, simply attach the red wire to the B+ pin and the black wire to the B- pin on the NRF52840 Pro Micro board. This straightforward connection allows the BMS to manage charging and discharging efficiently, ensuring safe and stable operation of your device.
Assembly
The hardware is all ready and set now to the wiring. For this, we will follow the following Schematics
433 MHZ LoRa Module Ra-02 DIP
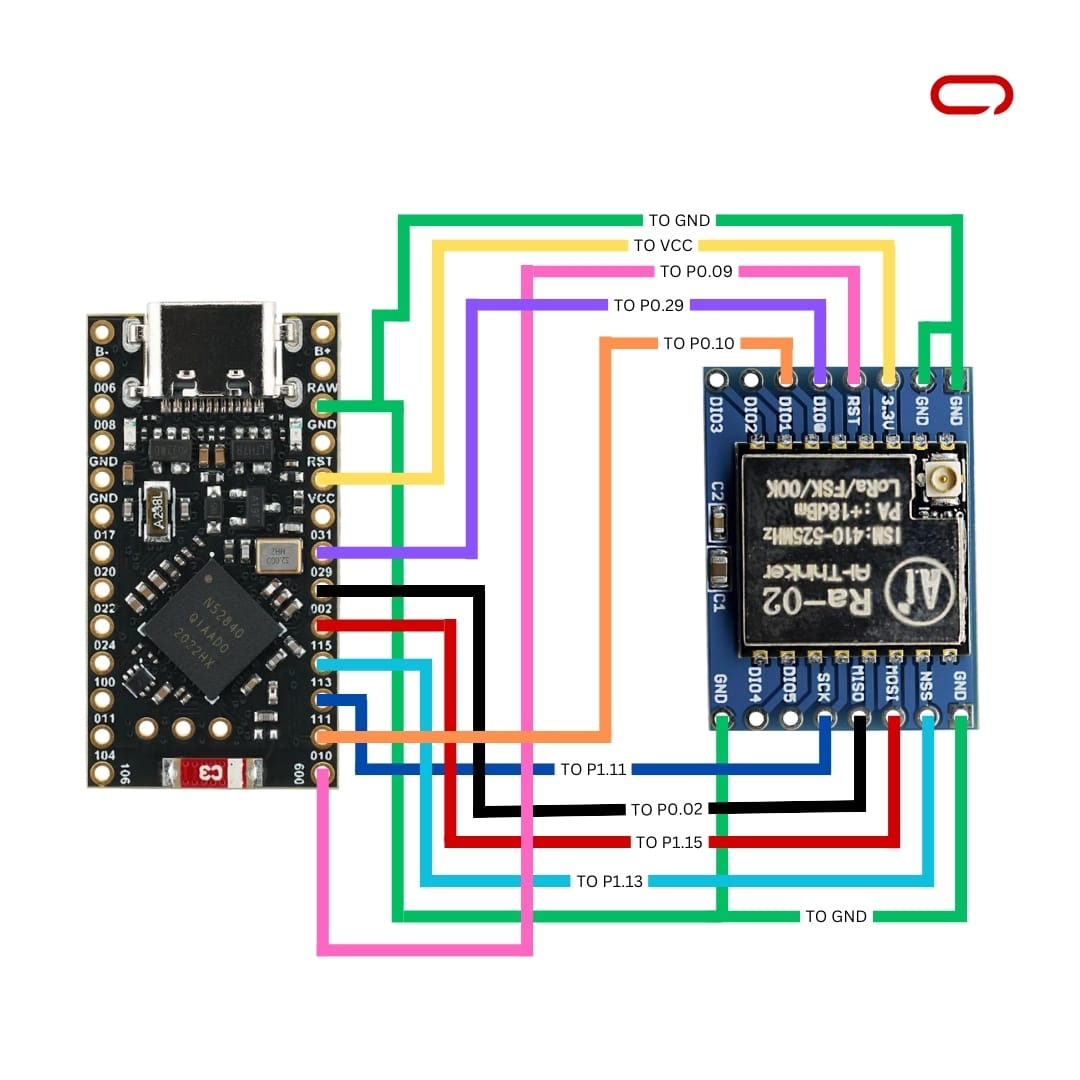
LoRa Module Pin: MISO -> nRF52 Pin: P0.02
LoRa Module Pin: MOSI -> nRF52 Pin: P1.15
LoRa Module Pin: SCK -> nRF52 Pin: P1.11
LoRa Module Pin: NSS -> nRF52 Pin: P1.13
LoRa Module Pin: DIO0 -> nRF52 Pin: P0.29
LoRa Module Pin: DIO1 -> nRF52 Pin: P0.10
LoRa Module Pin: RESET -> nRF52 Pin: P0.09
LoRa Module Pin: 3v3-> nRF52 Pin: VCC
LoRa Module Pin: GND -> nRF52 Pin: GND
0.96-inch I2C OLED
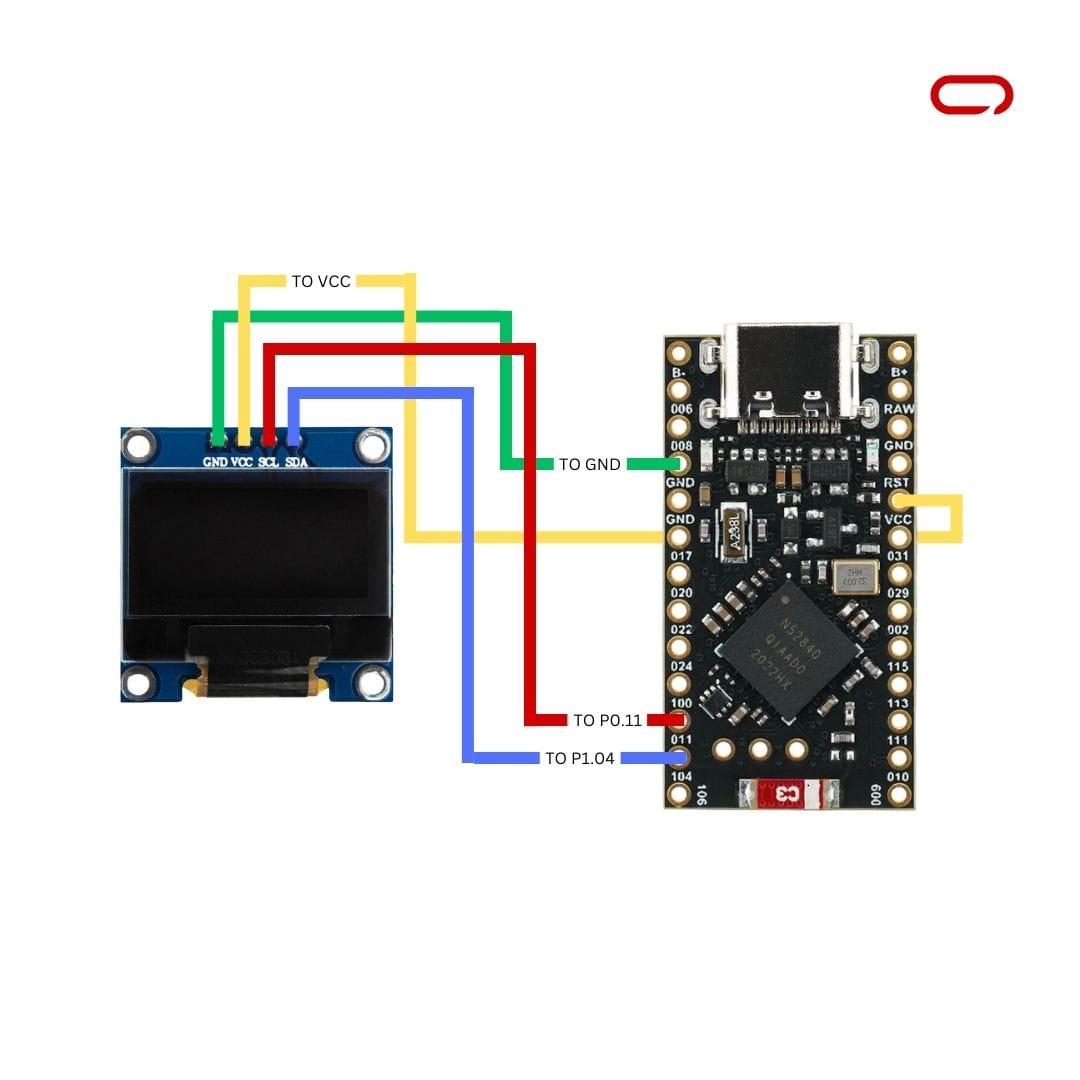
Oled Module Pin: SCL -> nRF52 Pin: P0.11
Oled Module Pin: SDA -> nRF52 Pin: P1.04
Oled Module Pin: 3v3-> nRF52 Pin: VCC
Oled Module Pin: GND -> nRF52 Pin: GND
Flashing The Software
Before flashing your node with firmware, you first need to update the bootloader, as most of these NRF52840 Pro Micro boards come with an outdated version. Although the process is straightforward, it might take some time.
To update the bootloader or even flash the firmware, you'll need to put the node into DFU (Device Firmware Update) mode. Start by connecting the node to your PC using a data cable. Then, short the GND and Reset pins once or twice, depending on your board. A new drive should appear on your computer.
First, check the INFO_UF2.TXT file on this drive to determine your current bootloader version. Make a note of this version, then visit Adafruit's GitHub page for the nRF52 Bootloader releases. Find the next release that comes after your current bootloader version, but remember, you cannot skip versions—you need to update incrementally.
For example, if your bootloader version is 0.6.0, you should update to 0.6.1 next. In the release assets, find the files corresponding to your board. For the NRF52840 Pro Micro, look for nice_nano_bootloader-X.X.X.HEX and nice_nano_bootloader-X.X.X.UF2. Sometimes these files are zipped, so you may need to extract them. Use Ctrl + F to quickly find "nice_nano_bootloader" and download everything relevant.
Once you have the .HEX and .UF2 files, put your node in DFU mode if it is not, then drag and drop the .HEX file onto the drive. After it transfers, do the same with the .UF2 file. The device will disconnect and restart once the .UF2 file is transferred. Check the bootloader version in the INFO_UF2.TXT file to ensure it has been updated to the next version. Repeat this process until your node's bootloader is fully updated to the latest version.
After updating the bootloader, download the custom UF2 file provided in the link here. Put your node back into DFU mode, then drop the file onto the drive for your node. The device will restart, which may take a minute or two, and then you’ll be ready to start pairing.
Pairing Devices
With the hardware assembled and the firmware flashed you're now ready to power up the Meshtastic LoRa Node and pair it with your phone. This step marks the exciting moment when your custom-built device begins its communication journey.
- Download the Meshtastic app on your phone. The app is available for download on both the App Store (iOS) and Google Play (Android).
- Head over to the Bluetooth page and wait a little bit, you should see a device popping up there.
- Choose the Meshtastic device you want to pair with from the list. The device's Node ID and other relevant information should be visible in the app.
- When prompted to enter a pairing PIN, type "123456" on your phone and wait a moment for the connection to establish. Next, you'll be asked to select your region—choose "EU433." The node will restart, and you’ll be all set to go.
Your new Meshtastic LoRa Node is now ready to serve in a variety of applications, whether it's for remote communication, outdoor adventures, or as part of a larger network of devices. With this build, you've tapped into the power of open-source projects and the DIY spirit, joining a community of enthusiasts dedicated to innovative and decentralized communication solutions.
As you explore the capabilities of your Meshtastic LoRa Node, remember that there's always more to learn and improve. Consider experimenting with different antennas, battery sizes, and configurations to further optimize performance. And as always, share your experiences and insights with the community to help others on their own DIY journeys.
Enjoy the freedom and flexibility that comes with your new custom-built Meshtastic LoRa Node. Happy building and stay connected!