How To Add Buzzer To Your Meshtastic Node
In this guide, we'll walk you through adding a buzzer to your existing ESP32 Lora Meshtastic Node. This guide will work also for any other ESP32-based board like Heltec V3 Lora, TTGo, or T-Beam but slight changes might be required.
 Adrelien
Hardware
Now let's get started with the hardware you need:
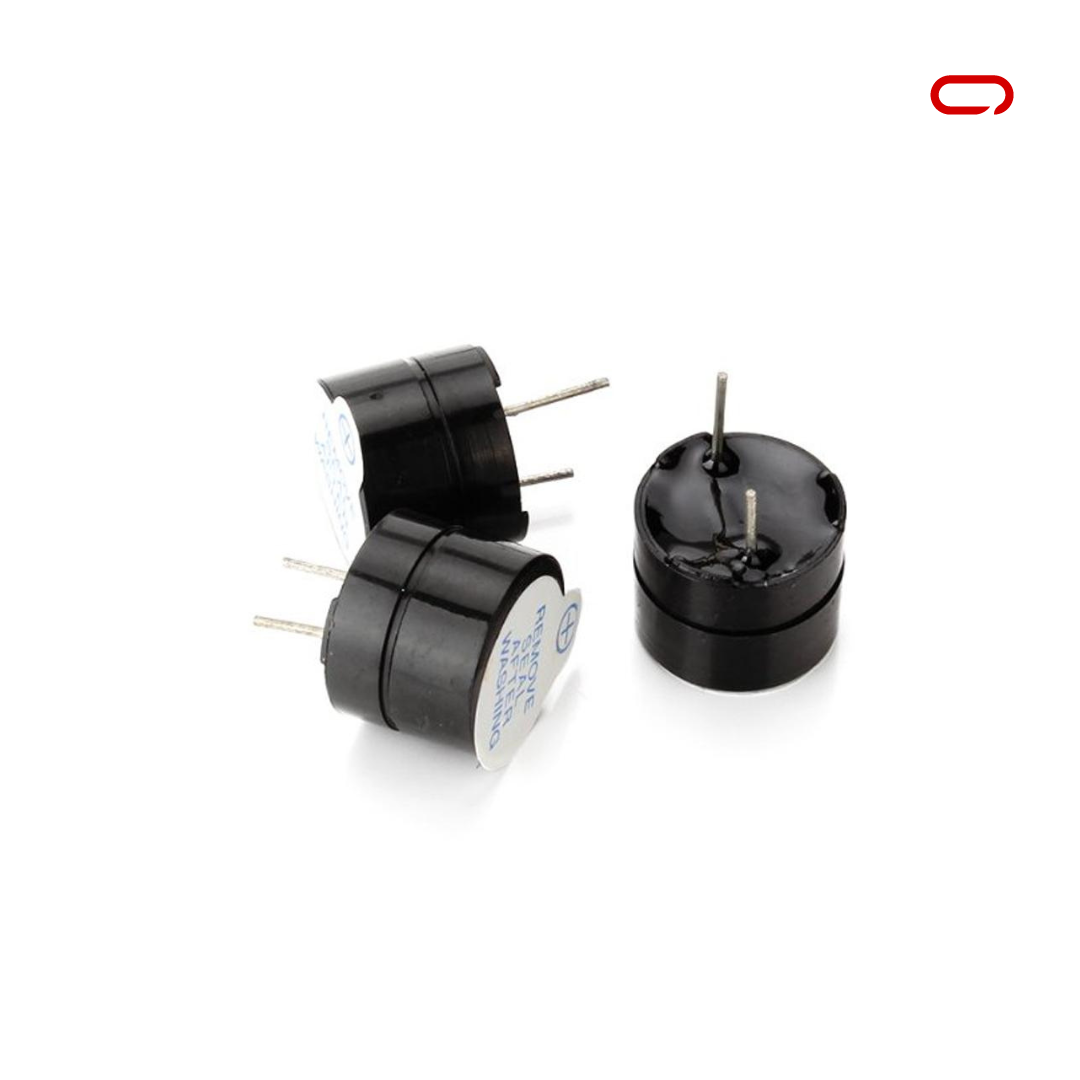
- 1x Buzzer - AliExpress Price: 0.69 USD | Amazon US Price 7.99USD
- 2x Female to Female Pin Connector AliExpress Price: 0.42USD | Amazon US Price 5.49USD
Assembly
The hardware is all ready and set now to the wiring. For this, we will follow the following Schematics.
Buzzer - DIY ESP32 Meshtastic Node
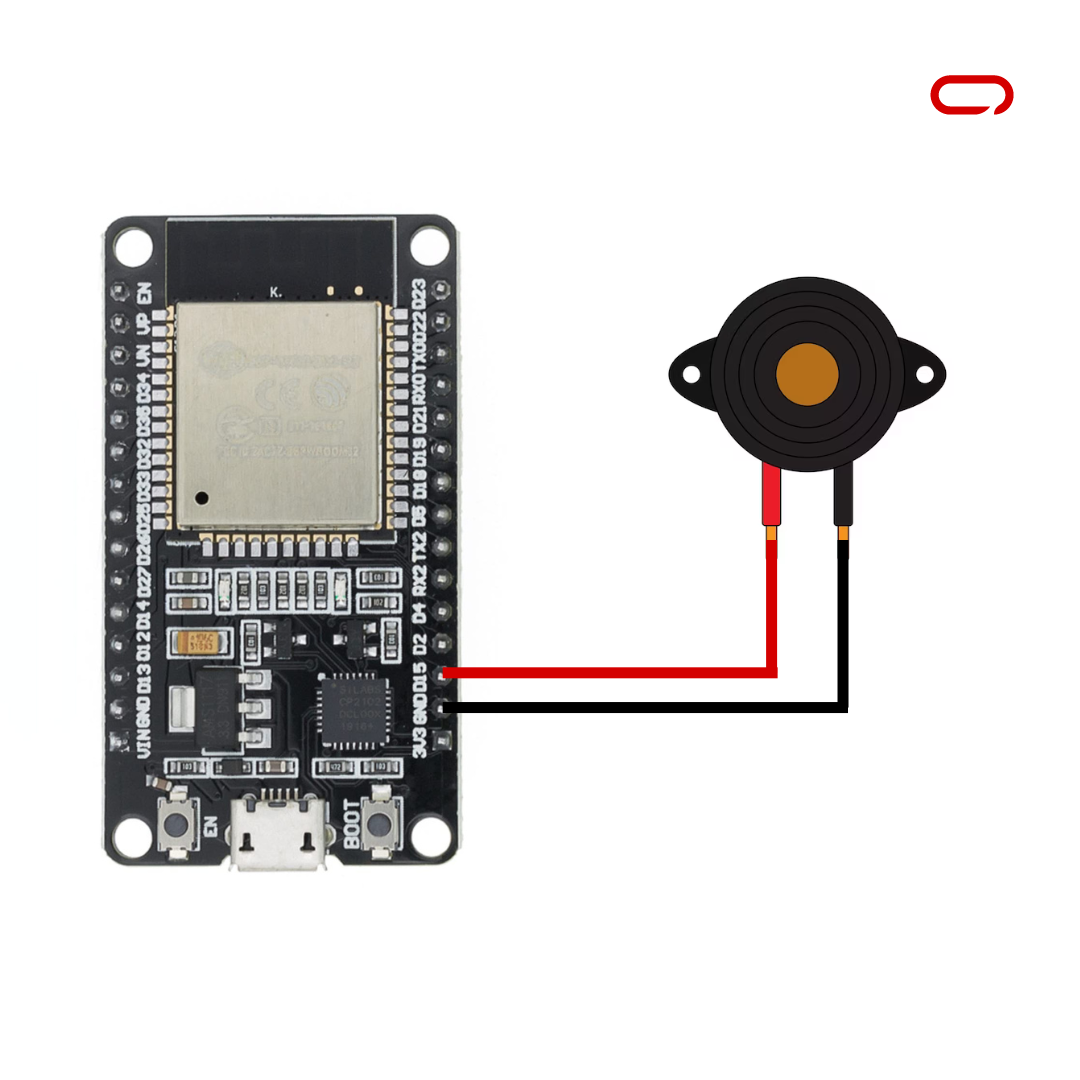
- Positive -> GPIO 15
- Negative -> GND
Once all the wiring is completed. Double-check your connections and ensure they match the suggested layout before proceeding to the next steps.
Meshtastic Settings
- Open Meshtastic App (IOS for this guide)
- Go to the Settings page
- In the module configuration section go to External Notification
- Toggle the switch to enable Enable, Alert when receiving a message, Use PWM Buzzer
- Scroll down then Primary GPIO toggle Active then set the output pin GPIO to Pin 15
- Now go to the Settings page then Ringtone and set your desired ringtone
Here is an example
Halloween:d=4,o=5,b=180:8d6,8g,8g,8d6,8g,8g,8d6,8g,8d#6,8g,
8d6,8g,8g,8d6,8g,8g,8d6,8g,8d#6,8g,8c#6,8f#,8f#,8c#6,8f#,8f#,
8c#6,8f#,8d6,8f#,8c#6,8f#,8f#,8c#6,8f#,8f#,8c#6,8f#,8d6,8f#
In conclusion, enhancing your DIY ESP32 Meshtastic Node with a buzzer is a simple and enjoyable process. By carefully following the provided guide, which includes a list of required hardware and step-by-step instructions, users can seamlessly integrate a buzzer into their existing setup. The hardware assembly, including the buzzer and pin connectors, is clearly outlined, ensuring a smooth implementation.