Meshtastic DIY ESP32 & Lora Radio 3D Case
Looking to build your own Meshtastic LoRa Node with ESP32? Follow our step-by-step guide. Once you've assembled the components, simply Print Our Design and Enjoy Your Node.
Following up on our tutorial we design a case to house the DIY ESP32 Meshtastic Node.
 Adrelien
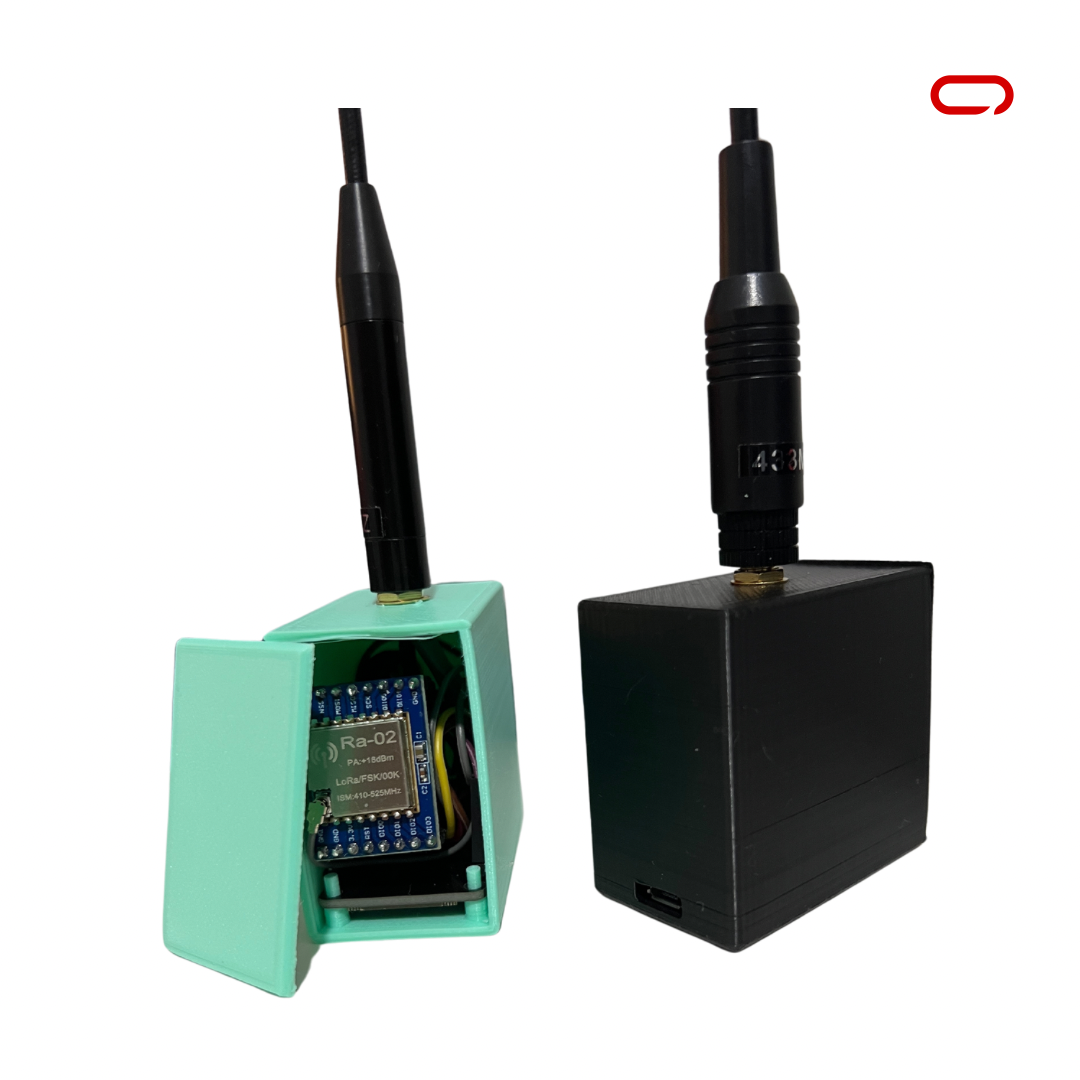
The case is very tight on exactly sized for the ESP32. With just enough space to hold the Lora RA-02 DIP Module. You also have little space to throw in a buzzer.
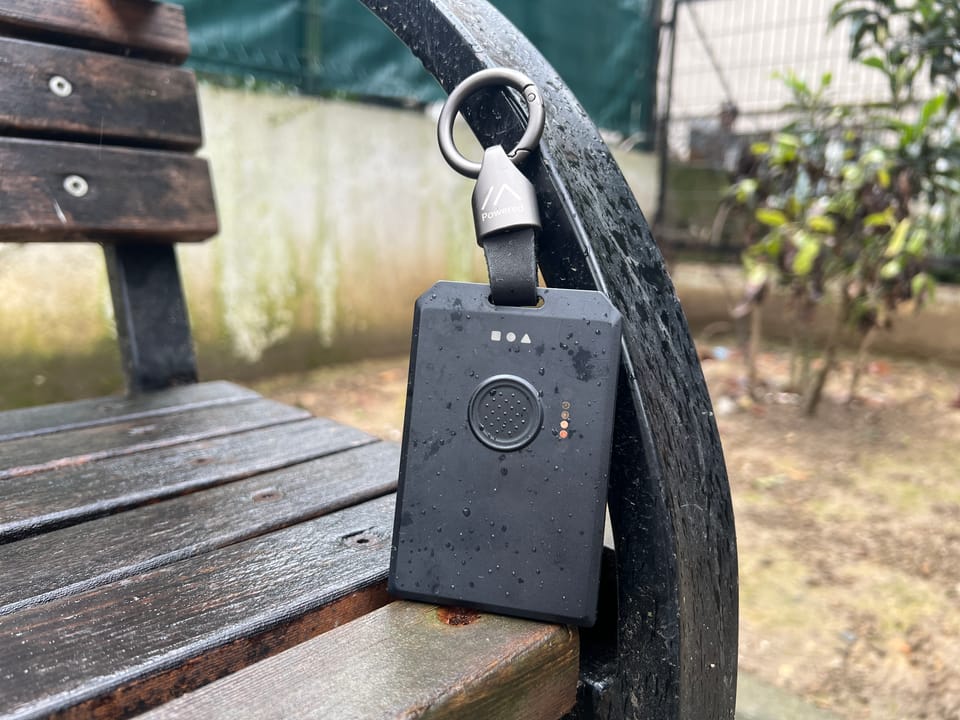
Adrelien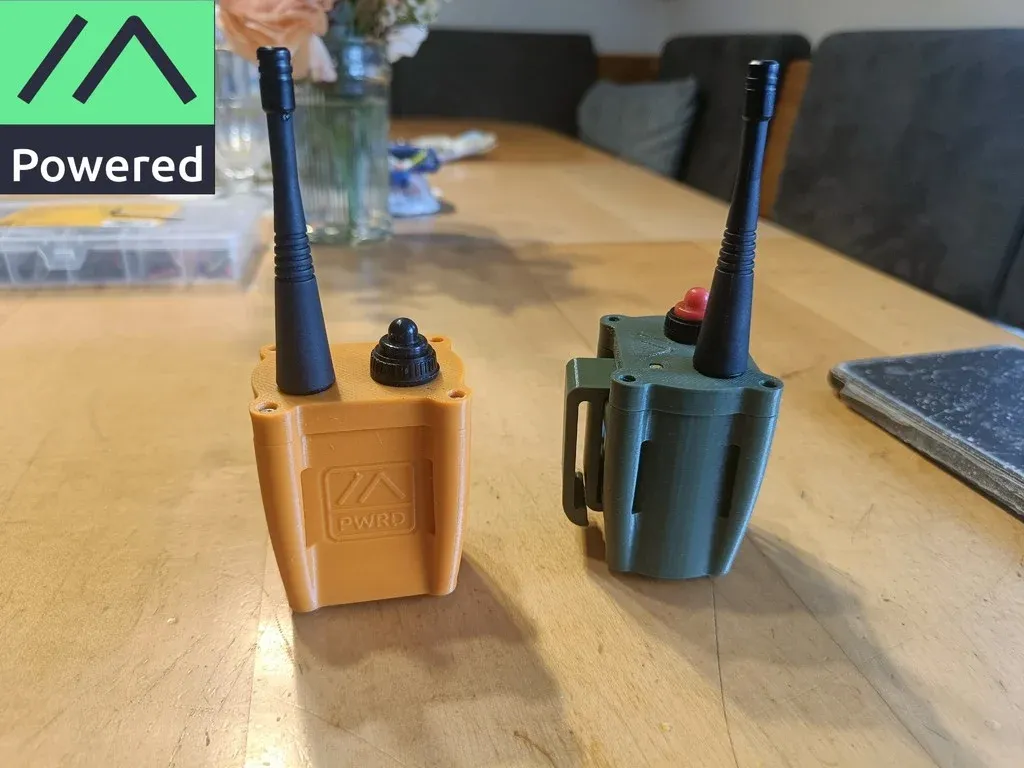
The top features an SMA-sized hole and the bottom for the USB to power your node. Soon we will release a design that is battery-powered as well. In the front, we have small holes from LEDs and two small holes to press the buttons with a paper clip. It is made to keep the water out as much as possible yet it is not considered water resistance though. Lastly, the lid is snap-on so you won't need any extra hardware to get the case assembled. We printed this case with Ender-3 V3 SE with standard settings with the Creality Slicer with High-Quality option.