How To Add SOS Button To Your Meshtastic Device
Transform your ESP32 Lora Meshtastic Node with an SOS Button using this comprehensive DIY guide. Easily integrate the SOS button into your device with step-by-step instructions. Suitable for ESP32-based devices with minor adjustments.

In this guide, we'll walk you through adding an SOS button to your existing ESP32 Lora Meshtastic Node. This guide will work also for any ESP32-based device with some modifications.
 Adrelien
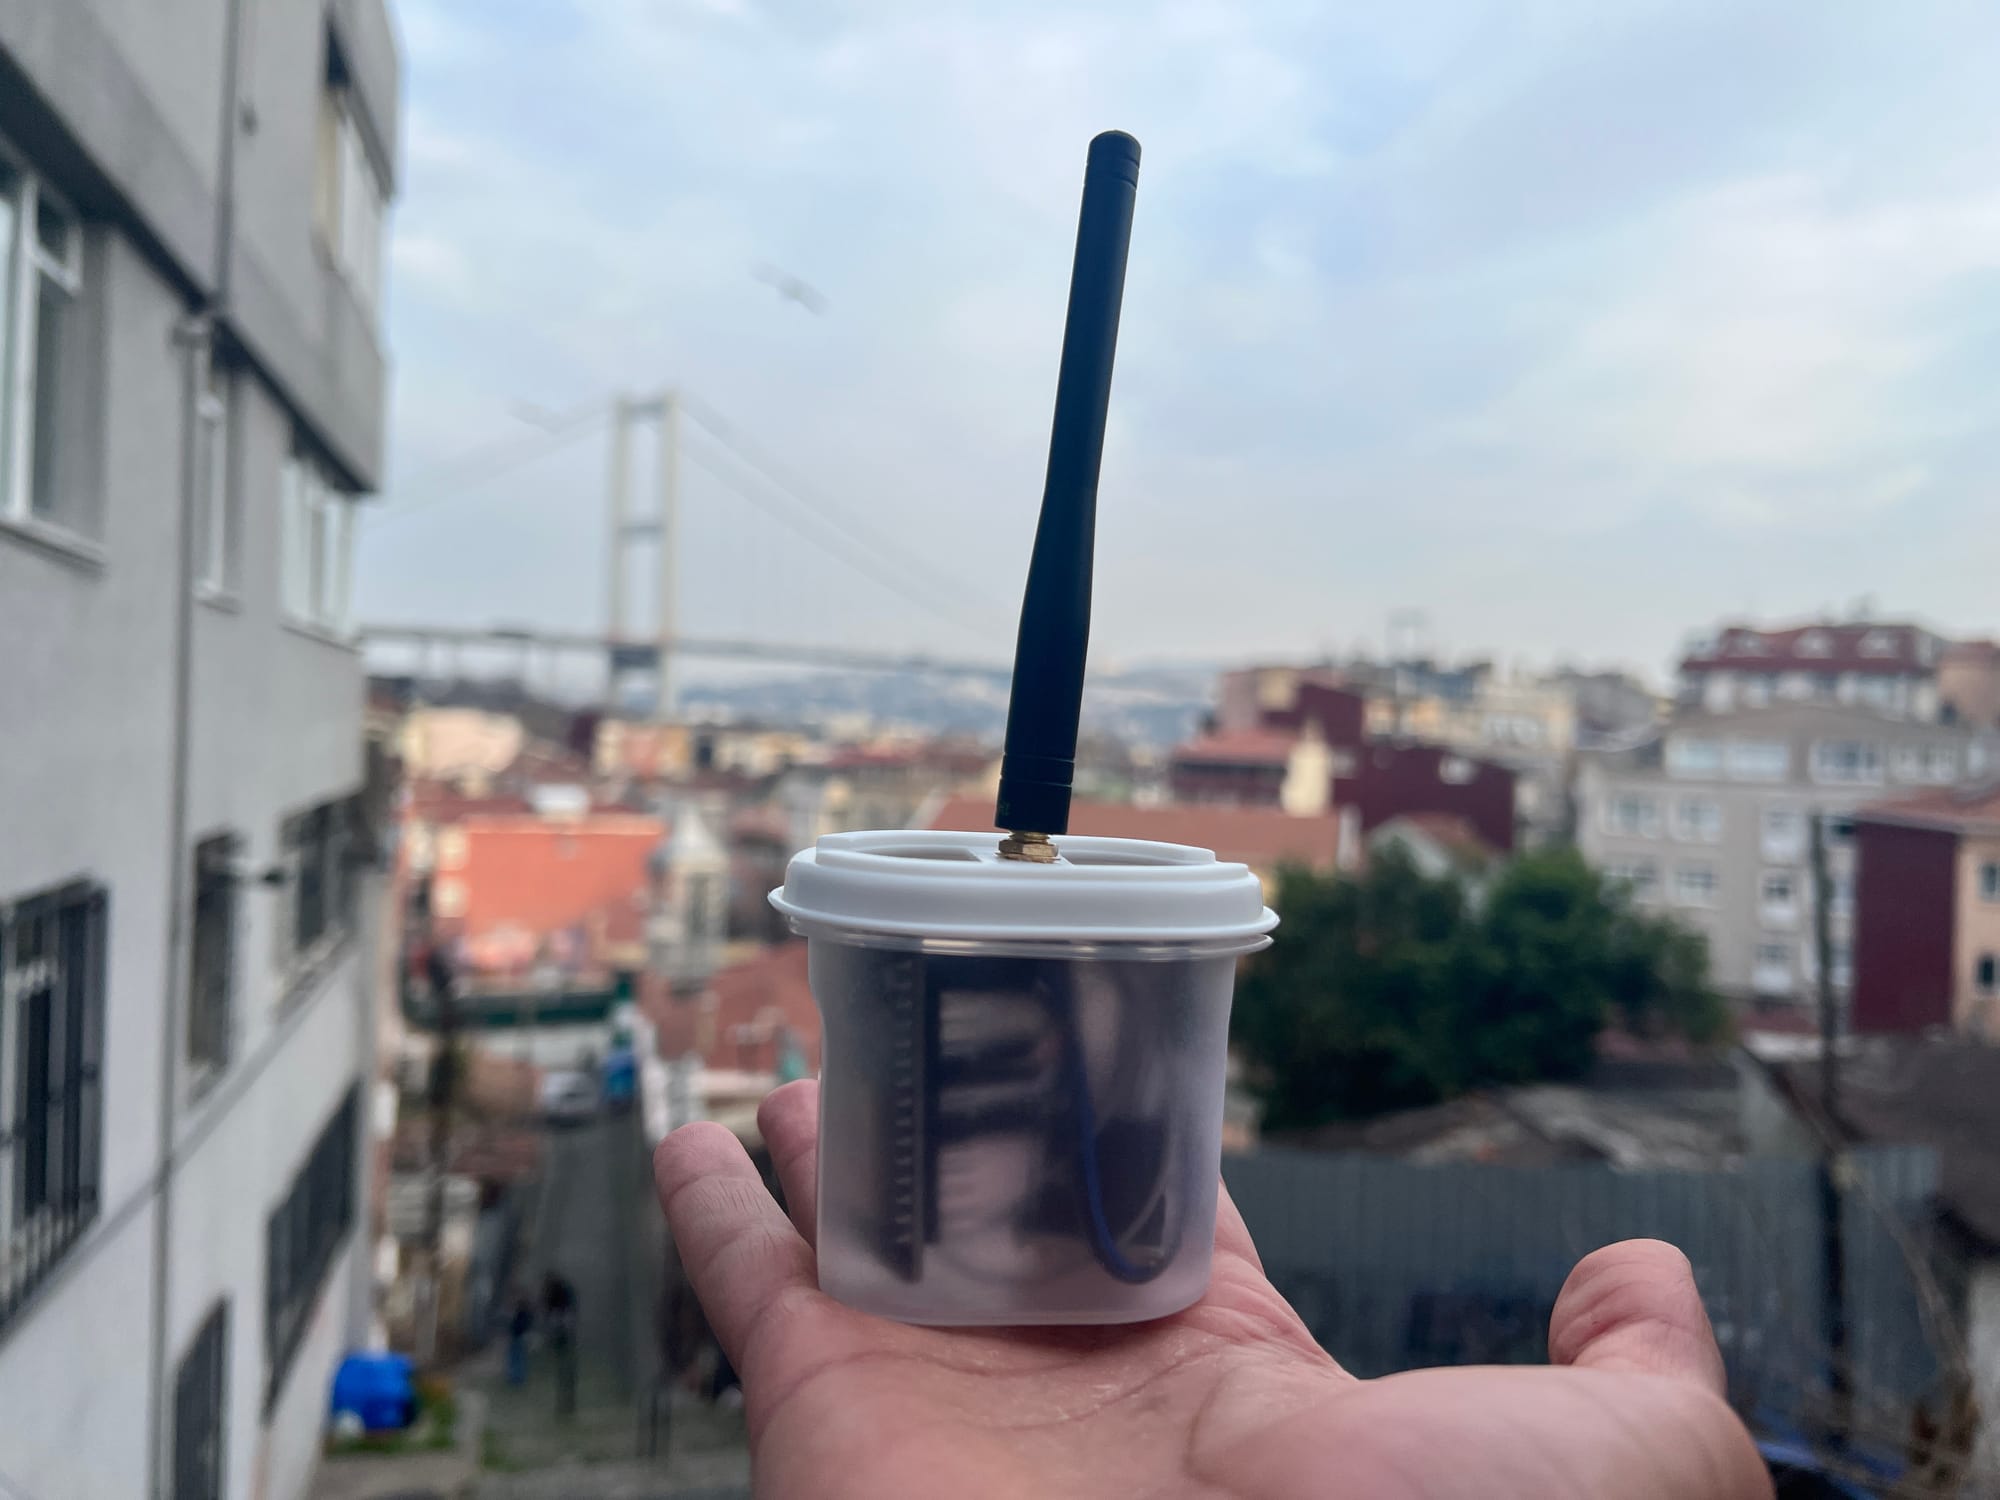
Hardware
Now let's get started with the hardware you need:
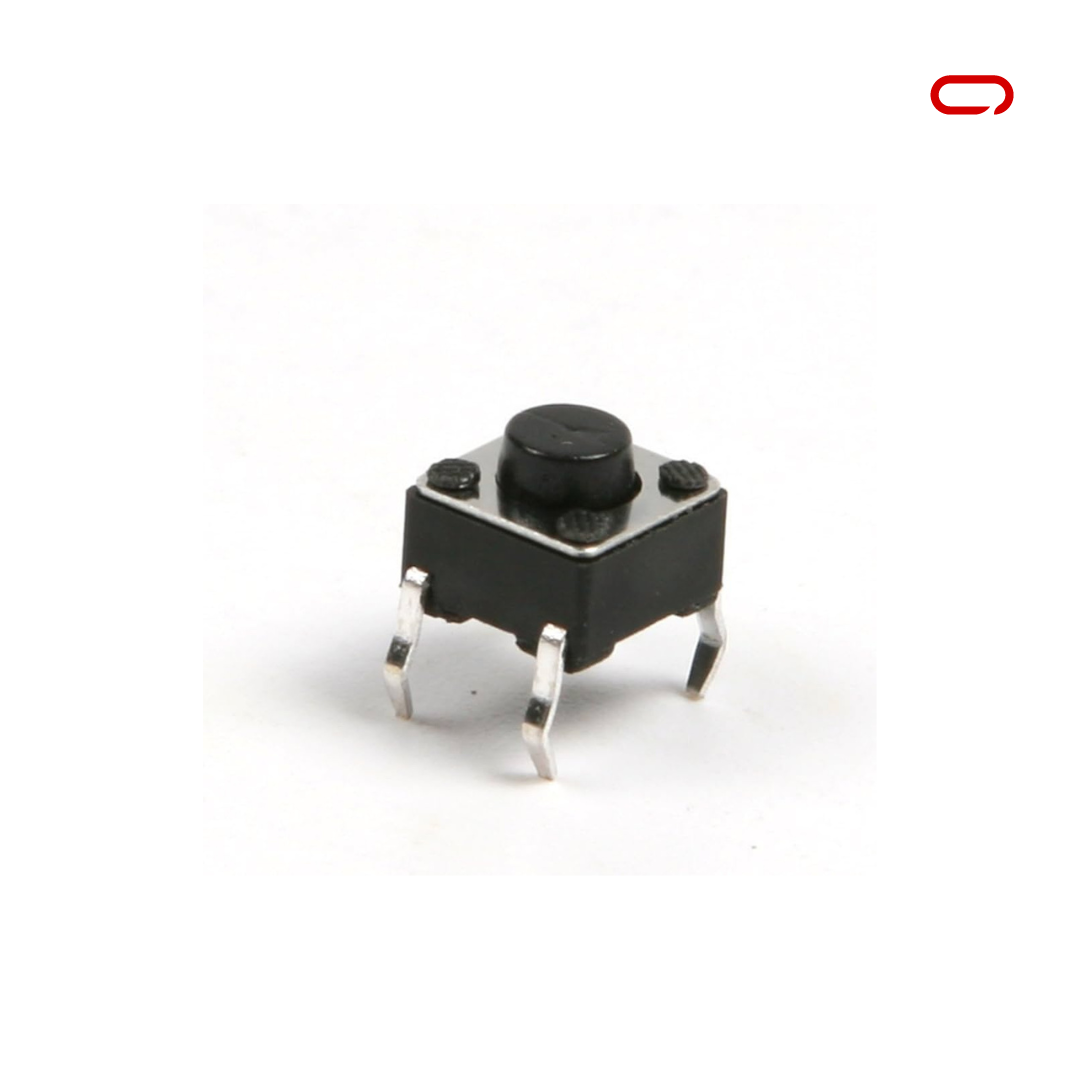
- 1x Tactile Push Button Switch - AliExpress Price: 0.55 USD | Amazon US Price 4.99USD - We went with a cheap set of 25pcs but you can replace it with a fancy button if you wish. You can also get 10pcs for much cheaper.
- 2x Female to Female Pin Connector AliExpress Price: 0.42USD | Amazon US Price 5.49USD
Assembly
The hardware is all ready and set now to the wiring. For this, we will follow the following Schematics.
Tactile Push Button Switch - DIY ESP32 Meshtastic Node
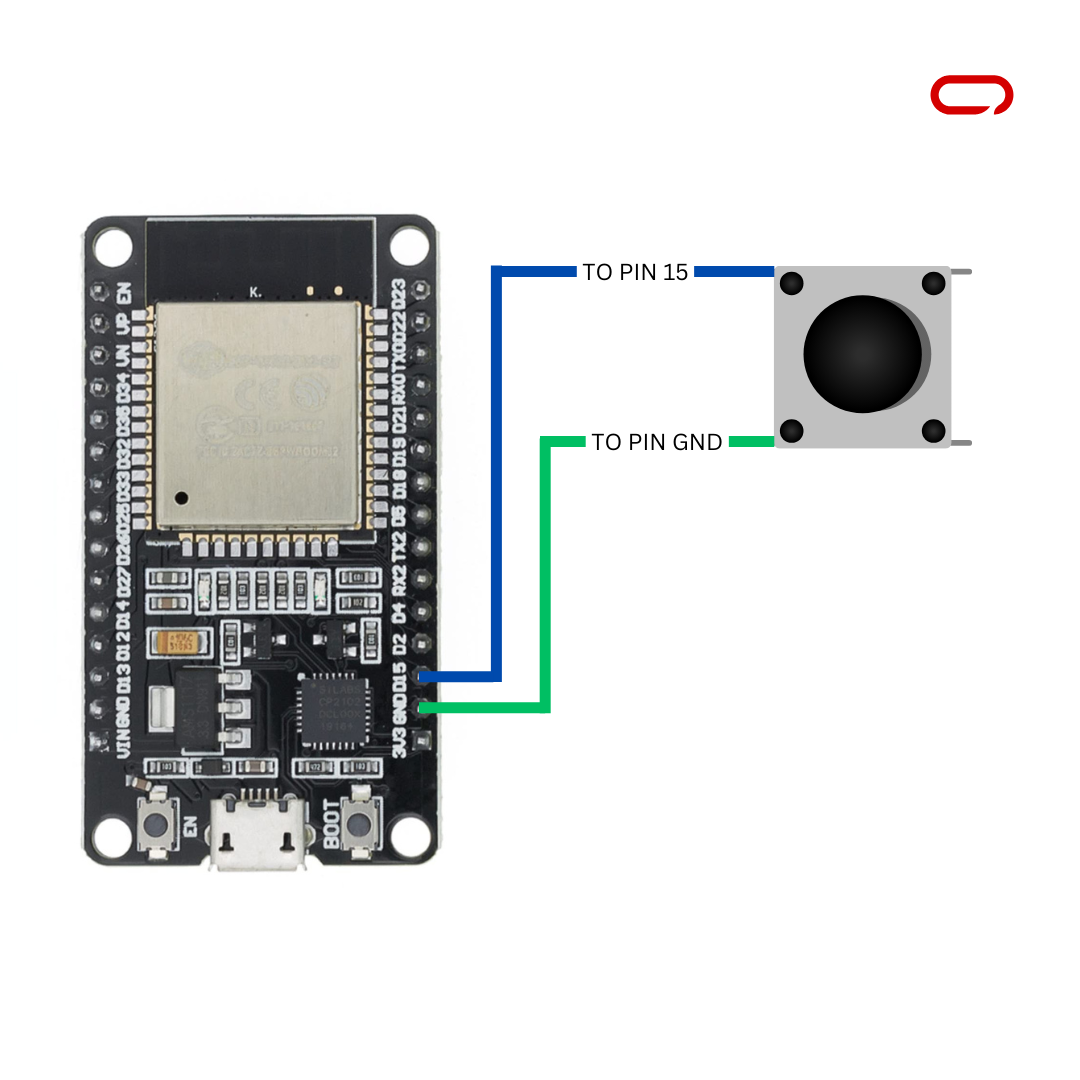
- Button Leg 1-> GPIO 15
- Button Leg 2-> GND
Once all the wiring is completed. Double-check your connections and ensure they match the suggested layout before proceeding to the next steps.
Meshtastic Settings
On the Sensor Device
- Open Meshtastic App (IOS for this guide)
- Go to the Settings page
- In the module configuration section go to Detection Sensor
- Toggle the switch to enable Enable
- Give the sensor/button a name, We named it SOS.
- Set GPIO PIN to monitor to PIN 15
- Lastly, press Save
On the Client Device
- Open Meshtastic App (IOS for this guide)
- Go to the Settings page
- In the module configuration section go to Detection Sensor
- Toggle the switch to enable Enable
- Right under the toggle select Client this time.
- Lastly, press Save
Once this is set up, you'll receive messages on the public channel whenever the button is pressed. Consider customizing the limit in the settings if you wish to have the button transmitting more frequently. Saturating the network could potentially lead to issues with sending and receiving data. Check out our Channel Utilization post for more information
Adrelien
In conclusion, this comprehensive guide ensures seamless integration of an SOS Button into your ESP32 Lora or any other ESP32-based Meshtastic Node, extending its capabilities. The instructions provided are for ESP32, yet you can also apply to any other ESP32-based board like Heltec V3 Lora, TTGo, or T-Beam device with minor adjustments. Remember to be mindful of network usage to optimize data transmission. This guide not only enhances your device with a SOS button but also opens up possibilities for incorporating other functionalities. Happy tinkering!