How To Setup Canned (Pre-Defined) Messages With Rotary & Knob Button For Your Meshtastic Node
Enhance your Meshtastic Node by adding a rotary knob button. Easily send pre-defined messages in emergency situations, offering a user-friendly and intuitive communication solution.
In this guide, we'll walk you through adding a rotary & knob button to your existing Heltec V3 Lora Meshtastic Node to send canned messages (Pre-Defined Messages). This guide will work also for any ESP32-based board like DIY ESP32 Lora, TTGo, or T-Beam but slight changes might be required to the selected pin. For ESP32 make sure you choose empty pins and adjust the settings to the pins chosen.
 Adrelien
Hardware
Now let's get started with the hardware you need:
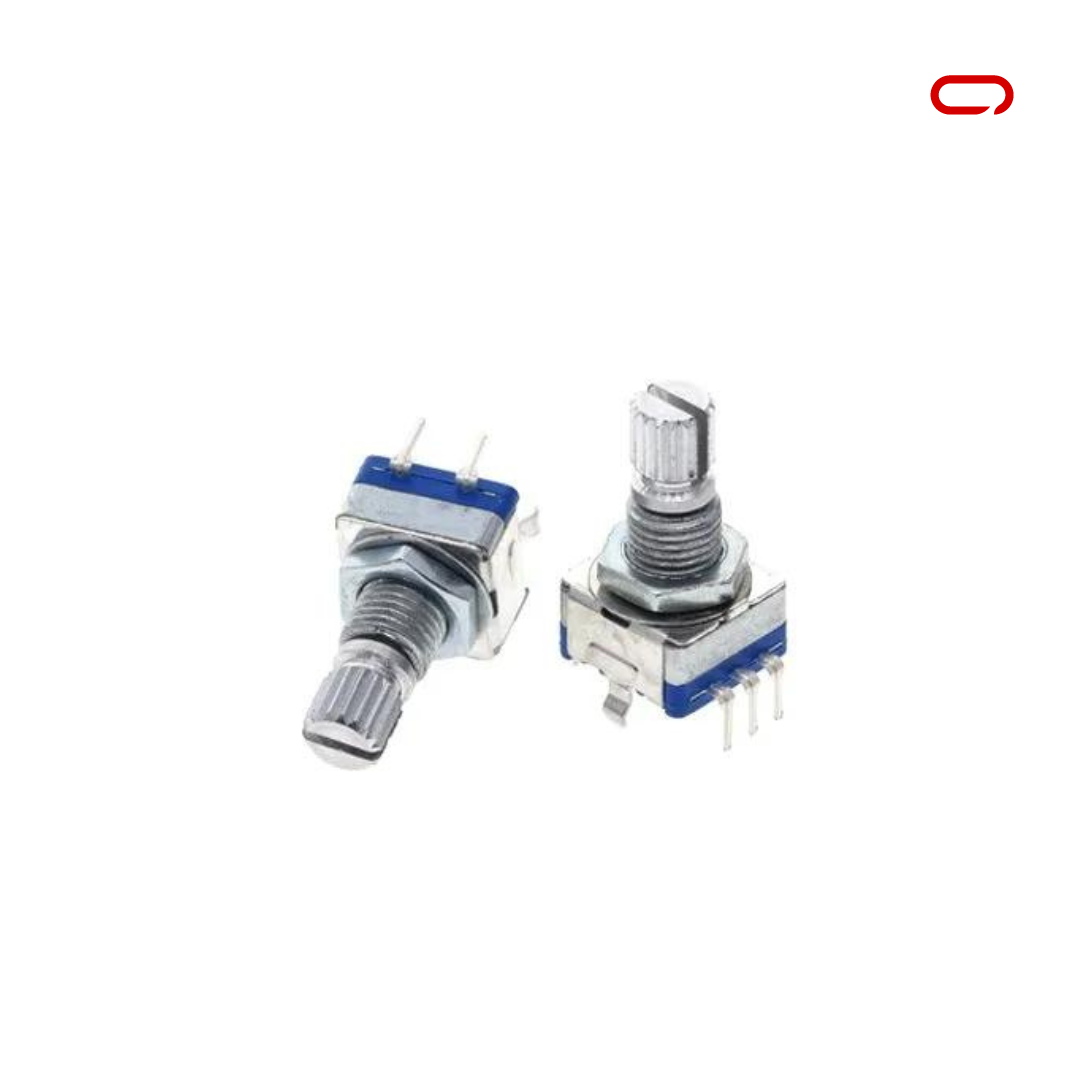
- 1x EC11 Digital Potentiometer - AliExpress Price: 2.65 USD
- 5x Female to Female Pin Connector AliExpress Price: 0.42USD
Assembly
The hardware is all ready and set now to the wiring. For this, we will follow the following Schematics.
EC11 Digital Potentiometer - Heltec V3 Lora Meshtastic Node
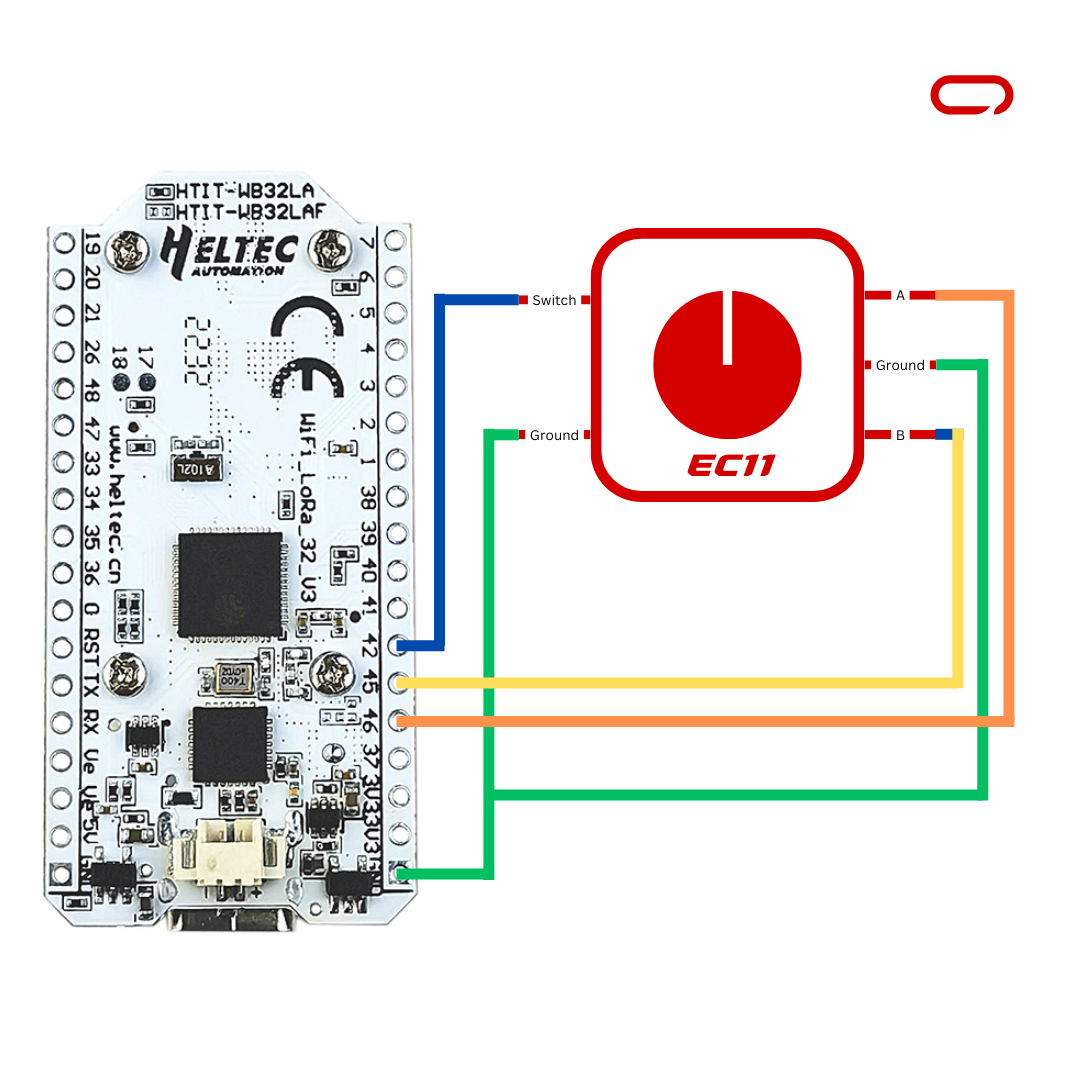
- Switch-> PIN 42
- A ->46
- B - > 45
- GND -> GND
Once all the wiring is completed. Double-check your connections and ensure they match the suggested layout before proceeding to the next steps.
Meshtastic Settings
On the Sensor Device
- Open Meshtastic App (IOS for this guide)
- Go to the Settings page
- In the module configuration section go to Canned Messages
- Toggle the switch to enable Enable
- Set your messages separated by ' | '
- Set PIN A to 46
- Set PIN B to 45
- Set PIN Press to 42
- Leave Key Mapping as default or change it if you want to customize the control
- Lastly, press Save
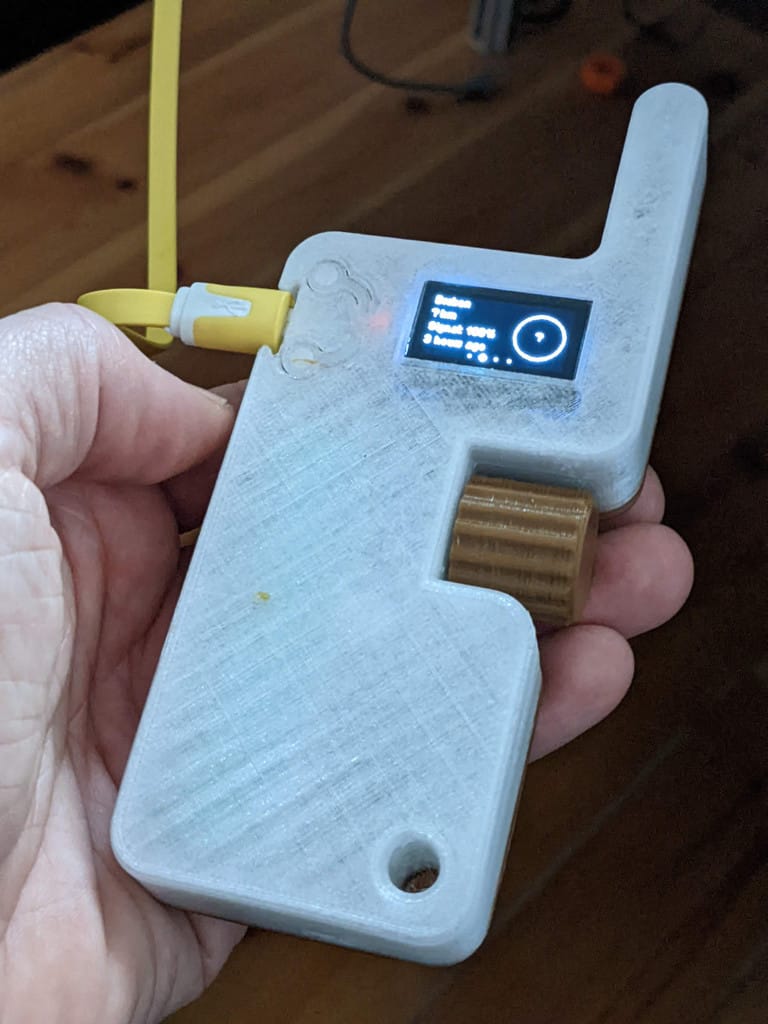
Now you can scroll up and down through your canned (pre-defined) messages and simply press the rotart button down to send a message.
In conclusion, this guide provides a comprehensive walkthrough for enhancing your Meshtastic Node by adding a rotary knob button to facilitate the sending of pre-defined messages. The simplicity of scrolling through pre-defined messages and sending them with a press of the rotary knob button provides a user-friendly and intuitive way to communicate essential information. This can be particularly beneficial in emergency situations, where you don't have access to your phone.